

 RSS
RSSPageMaster: Responsibilities in a Self-Service Job
At A Glance:
There are several key steps in the job cycle of the Self-Service workflow. This document identifies the responsibilities of both the external customer and the internal user.
Applies To:
WebApproval
How It Works:
The major steps in the workflow are:
- Give your customer(s) permission to use Self-Service.
- The customer initiates a job, edits the format and finalizes the customer setup.
- You edit the production details of the job and finalize the printer setup.
Also critical to the workflow are the job ticket templates that the customer uses as a basis for their jobs. Ticket templates are not discussed in any detail here. For help, please refer to the section titled "Self-Service Job Ticket Creation."
Customer Access to Self-Service
Before a customer can use Self-Service, you need to give them permission.
Log in to your Portal system as the Application Manager using either the Classic or the PageMaster interface. Edit the customer's Company Profile.
In Classic, choose Profiles > Companies from the menu bar. Click on the name of the company and choose edit in the Action bar.
In PageMaster, click on User Management in the lower right hand corner of the window. Choose a company from the list on the left hand side and then edit the configuration in the middle pane.
Note: You can also set Self-Service as a company default in Preferences through the Classic interface. Companies created after that will have Self-Service enabled.
There are three possible template access options you can give your customers:
- Upload only - Customer sees ticket templates that are upload only.
- CLASSIC = "No Preflight, No Soft Proof of Documents"
- PAGEMASTER = "Allow Creation of New Jobs"
- Upload/Preflight - Customer sees only ticket templates that include upload and/or preflighting, but no proofing.
- CLASSIC = "Including Preflight of Documents"
- PAGEMASTER = "Allow Preflighting of Documents"
- Upload/Preflight/Proof - Customer sees all templates available.
- CLASSIC = "Including Preflight and Soft Proof of Documents"
- PAGEMASTER = "Allow Soft Proofing of Documents"


Note: Self-Service is available in the PageMaster user interface only.
Customer Job Initiation
Once they have access to Self-Service, the customer will have a Start a New Job button just below the banner of the Job Overview screen in PageMaster.

Clicking the new job button allows them to choose from the various ticket templates they are allowed to see. They simply choose one, give it a name and click Create.
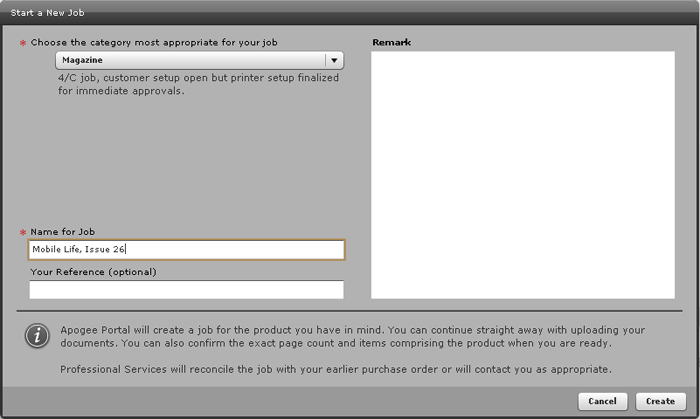
Note: Because the customer is probably not familiar with the concept of ticket templates, it's a good idea to keep the external name simple and to include a description about what the template does.
The job is created.

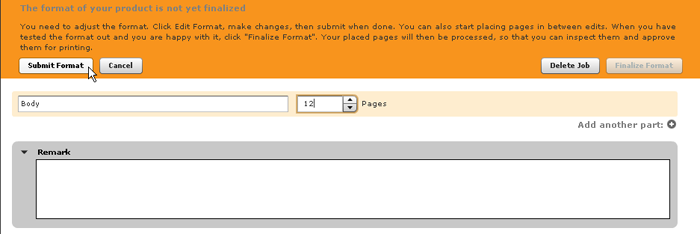
If customer setup is not complete in the template, the customer has the opportunity to edit the format of the job (number of parts and pages).

After editing, the customer needs to Submit format to update the job in both Portal and Prepress.
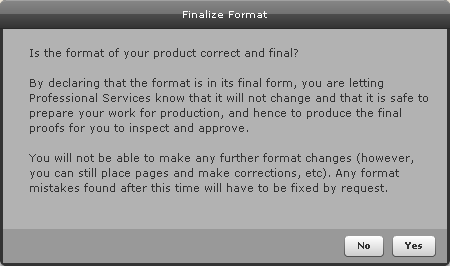
Finally, when the specification is to the customer's satisfaction, they Finalize Format and confirm that it is complete. This completes the customer setup in Agfa Apogee Prepress.
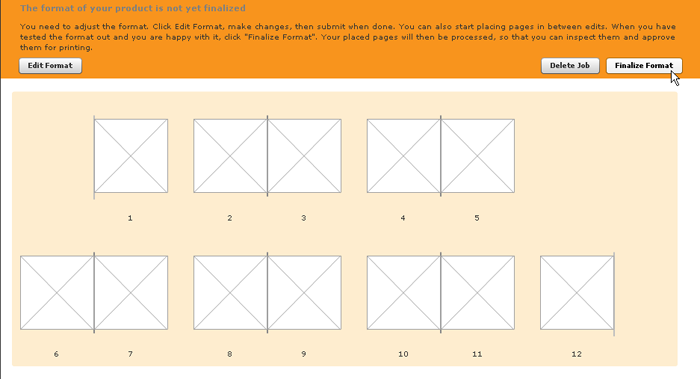
Note: Printer setup cannot be completed until the customer setup is finalized.
The customer now interacts with this job as they would any other job. Remember that they will not be able to approve proofs until the printer setup is complete. The customer is notified of this restriction and will have to wait until you take action on the job.
New :Apogee Prepress Icons and Notifications
There are two new job status icons for Self-Service that you will see in the Job List:
 indicates that the customer setup is incomplete.
 indicates that the printer setup is incomplete.
There is also a new Setup Stage section at the bottom of the Product Tab in the Job Ticket Editor.
 customer setup status; pencil means incomplete; check means complete.
 printer setup status; pencil means incomplete; check means complete.
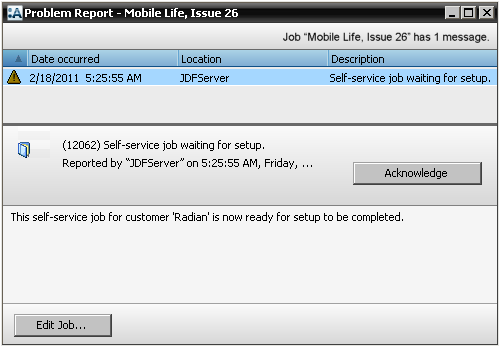
Prepress will also give a warning notification when a job requires printer setup.
Internal Responsibilities for Self-Service Jobs
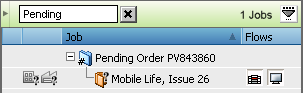
New Self-Service jobs are easy to spot in the :Apogee Prepress client because their order number is always "Pending Order" with a randomized number. You can search the job list for "pending" to find new Self-Service jobs.
Once the customer has completed their setup, you can finalize the printer setup.
Edit the job and verify that production parameters such as product definition, imposition, separations, etc. are set correctly. You might also want to edit the Order Number in the Administration tab to one of your liking.
Before you submit your changes, go back to the Product tab of the job and complete the printer setup by clicking the green check mark next to the printer status icon.
Note: Once you change the printer setup status to complete, you cannot revert to incomplete. However, you can always edit the job and change the processing parameters. Bear in mind that changes in processing parameters may result in reprocessing of web proofs, even if they are already approved.

Overriding Customer Setup
One of the intentions of the Self-Service workflow is to give customers some responsibility in creating and verifying the accuracy of their jobs. If the template is not marked as customer setup complete, the intent is that the customer will properly specify the job parameters and then finalize the setup of the job for production.
The reason that you cannot complete the printer setup until the customer setup is done is to make certain that the edits you make to the job are relevant and based on the customer's specification.
However, you may find that a customer has simply neglected to complete their setup and that the job cannot progress until the format is actually finalized. You can override the customer setup from within the :Apogee Prepress client.
Edit the job and go to the Product tab. Click the green check mark next to the customer icon. :Apogee Prepress will ask you to confirm that you want to prevent further modification by the customer.
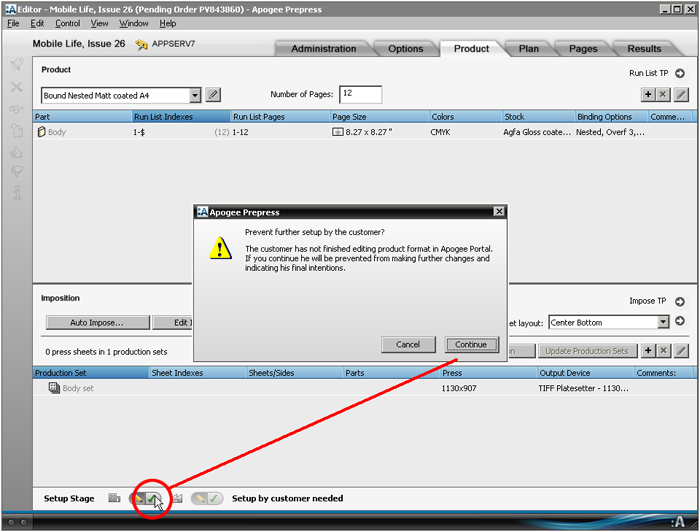
You can now finish the printer setup and continue the production of the job.
Why is this Important?
Self-Service represents a new way of working. Because the job creation falls to the customer in this workflow, it is important to understand the roles and responsibilities as well as how to manipulate the jobs.

