Exporting PDFs
Enhancement: Export Types
At A Glance
The Export option includes a few new file type possibilities. Combined with the updated PDFRender 2.0, it is now possible to extract different types of color managed files and separate JDF data from PDF data.
Applies To:
Prepress, Manage, (requires PDF Export option) and PDF & Proof
How It Works
The introduction of PDFRender 2.0 allows you more flexibility when you want to export PDFs from your system. As discussed in the New Features section, you have the ability to create PDF/X-4 files in addition to other standard PDF formats. The graphic below shows what formats are available.
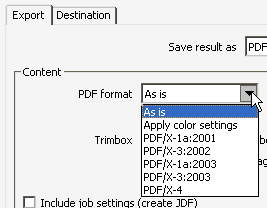
You can also export your files "As is" like you've always done.
The selection "Apply color settings" was introduced in Prepress 5.0 and had limited functionality. With Prepress 6, you'll now enjoy expanded options for creating color managed PDFs.There are two main elements to achieving color transformed PDFs with Prepress 6.
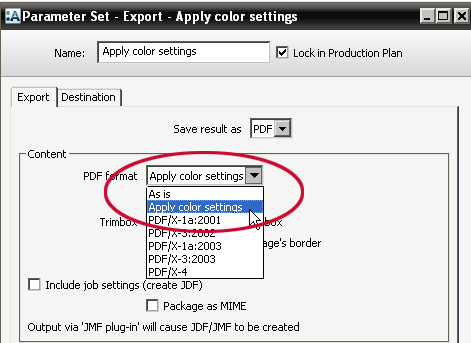
You need to set the PDF format in your Export TP to Apply color settings.

You need to add PDFRender, output and press AFTER the Export TP. The hot ticket pictured above generates an imposed, color managed PDF, using color profiles defined in the output and press TPs.
If you need to generate grayscale PDFs, set the press TP to use the gray Ink Set and gray Color Profile. Set the PDFRender Separations to Convert, which forces all the colors in the file to gray.
To generate a spot color mapped PDF, use a press parameter set with the color profiles of your choice. Set the PDFRender Separations to Notify or Keep. If you need to map spot colors to other spots or a process color, make sure you choose Notify so the job posts the "blue man."

LegendThe results above are just a few of the options for exporting color managed PDFs.
1. Original PDF: CMYK image, 2 purple spots with different names and values
2. Export PDF as Gray
3. Export PDF, map purples together
4. Export PDF with simple vector graphic and a 3rd purple, results in a 2/C file of black and purple
You can export JDF information in addition to your PDF. In the Export TP, select the Export tab and check the "Include job settings (create JDF)" box.
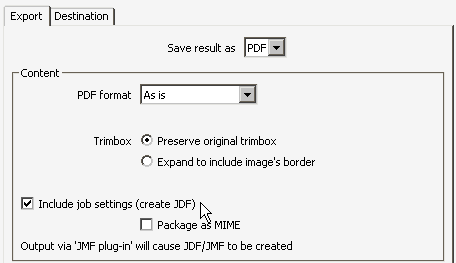
In the Destination tab, select how the JDF should be created and where it should be written.
Under Group JDF, select Follow content grouping if you need to produce multiple JDFs based on your export naming convention. For example, if you've specified a custom naming convention to generate individual pages, the content group would be individual pages. Alternately, you may select Single file per job which produces one JDF.
Finally, select the destination of the JDF(s). If you choose the Same as content files radial button, the JDF will be written in the same directory as the exported PDFs. If you select Choose, you may specify a unique location for your JDFs.
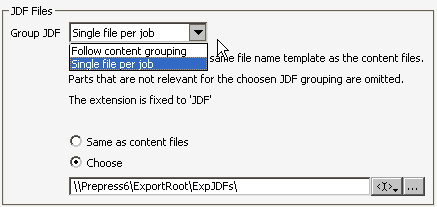
JDFs are created based on the job plan. If the export occurs after the run list, the JDF will contain page node information. If the export is after the imposition, it also includes layout information.
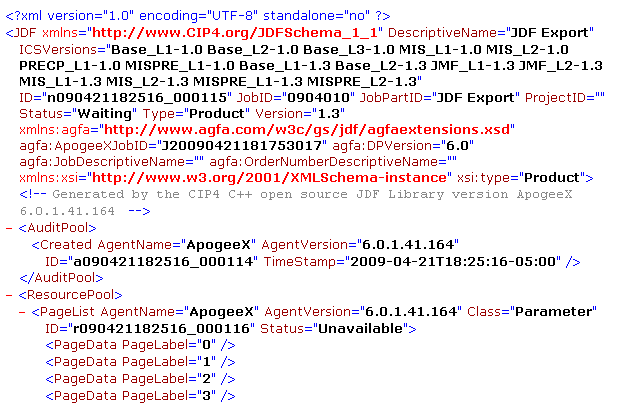
Below is some sample code. Notice the page label data at the bottom of the screen shot.


 RSS
RSS
