Applying Curves to Apogee Created Marks
At A Glance:
Since Prepress 7, you may specify which, if any, curves will be applied to Prepress-placed marks.
Applies To:
:Apogee Prepress Automate, Manage, Control and Render
How It Works:
There are three distinct types of correction curves available within Agfa Apogee Prepress.
- Linearization curves: designed to compensate the image for film or a non-linear plate. Typically used to ensure a common starting point when presses require distinct compensation curves.
- Calibration curves: used to create consistent, measurable output results for a specific press. Major factors in determining values for compensation curves include gray balance and standard color densities. A successful calibration curve means your plates run on press at specific standard ink densities and produce good gray balance and predictable color.
- Simulation curves: designed to "change" output to best replicate (simulate) a different
printing condition. For example, if a job was initially run on a high gain press, and on reprint is now moving to a standard gain press, or a significantly different stock type, a simulation curve can be added to the file to closely replicate the previous press run.
Prepress-based marks are generated either by borders in the output device task or in the :Apogee Impose Mark Engraver.
Prior to Prepress 7, you could either apply curves to marks or not apply curves to marks. As more shops moved to a combination of both Linearization and Compensation curves, more requests came in to selectively apply which curves to apply to what marks. In the case of colorbars, this is very important.
For example, you might run a linearization curve that pulls your 50% from a 58% to a 54%. For press A, there's a calibration curve which moves that same 50% (now a 54%) to 48% for all four colors.
For press B, there's a compensation curve that treats cyan and magenta differently from yellow and black.
For quality control reasons, you'd want your colorbar tint blocks on the plate to read the same, whether they were printing on press A or press B, which means you'd only want to use the linearization curve on the colorbar. You might even want a second, smaller colorbar that had both curves applied to it that would be read from the printed sheet, not the plate.
The process of enabling curves for file marks is simple:
- When defining the mark's properties, select which, if any, curves should be applied.
- When using output device border marks, you can apply different curve combinations to every file mark in your border.
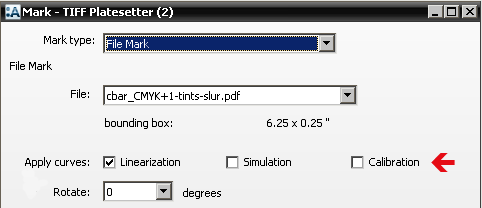
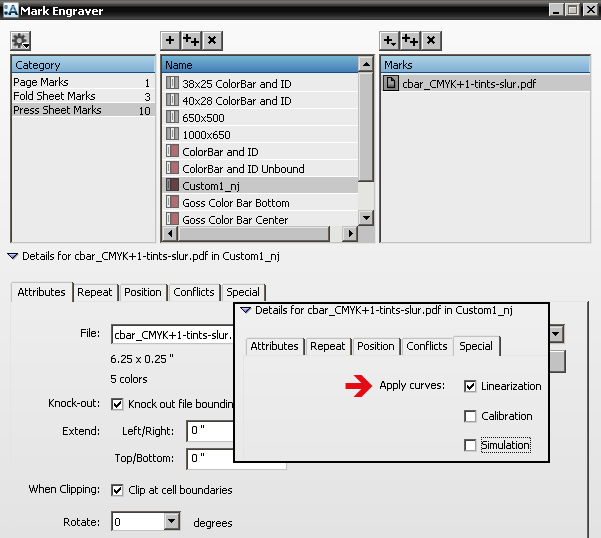
- When using the :Apogee Impose Marks Engraver, you can specify curves when defining the attributes of individual file marks.
Please see the sections devoted to :Apogee Impose for additional information.
A Few Examples
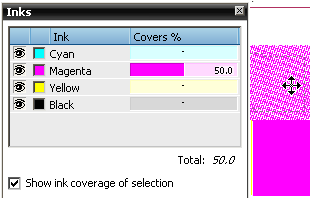
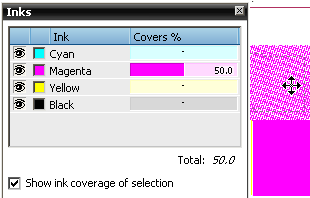
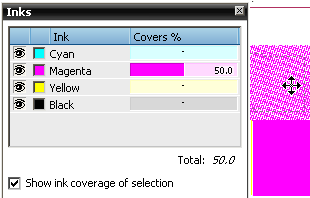
In the following examples, we created three borders, each with the same small colorbar. On the first, we disabled all curves, so a 50% images at 50%. The second enables only the linearization curve. The third enables only the calibration curves.
The job plans were identical with the exception of which border we used. Each called a Linearization and Calibration curve.
- Results using the border with no curves applied to the small colorbar:
- Results using the border with the linearization curve applied to the small colorbar:
- Results using the border with the calibration curve applied to the small colorbar:
Why is this Important?
This enhancement gives you more control over your file marks, providing you utilize Prepress borders or :Apogee Impose. By picking and choosing what curves you want on which marks, your quality control processes can be refined further.


 RSS
RSS
